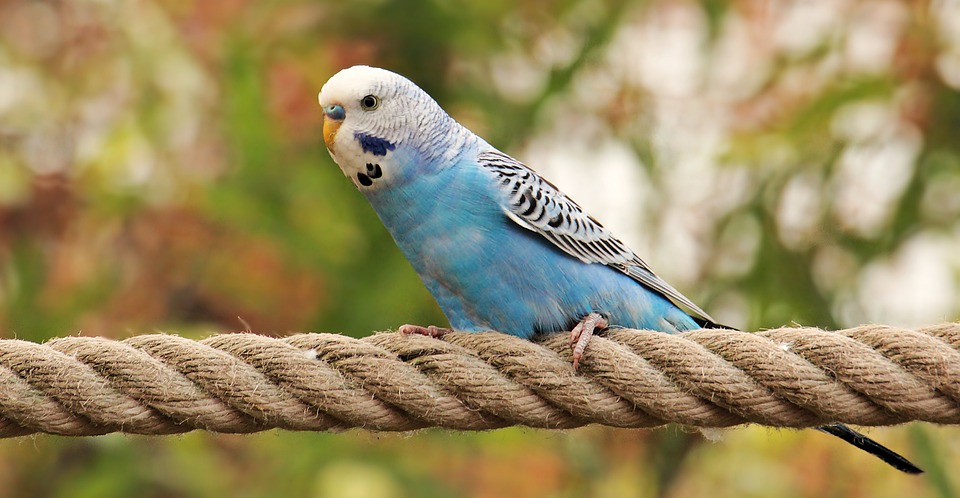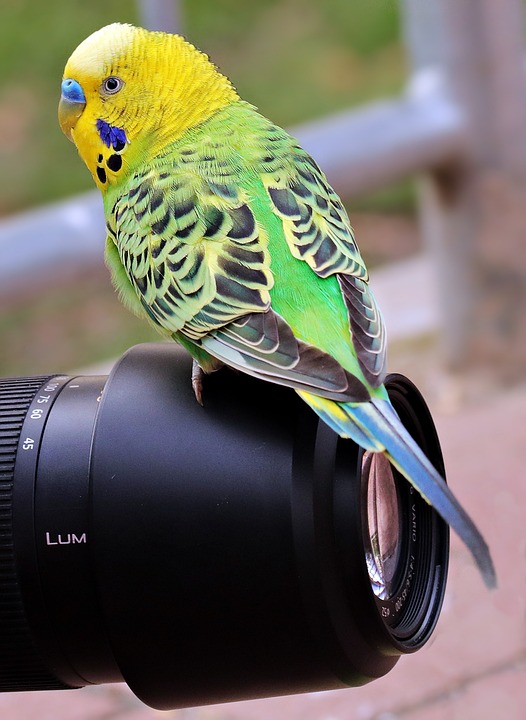
Parrot training can be a rewarding experience for both you and your feathered friend. One effective training tool that can help you in this process is a parrot treat pouch. By having a dedicated pouch to hold treats, you can easily access rewards and reinforce positive behavior. In this article, we will guide you on how to create a parrot treat pouch and provide answers to frequently asked questions.
Why Use a Parrot Treat Pouch?
Before diving into the creation process, let’s understand the benefits of using a parrot treat pouch:
1. Easy accessibility: With a dedicated treat pouch, you can keep your hands free during training sessions, allowing you to focus on your parrot’s behavior and provide timely rewards.
2. Quick rewards: A treat pouch ensures that you always have rewards readily available, enabling you to reinforce positive behavior promptly. This helps your parrot associate good behavior with positive outcomes.
3. Efficient training: By using a treat pouch, you can deliver rewards quickly, increasing the efficiency of your training sessions and enhancing the learning experience for your parrot.
Creating Your Parrot Treat Pouch
Now, let’s dive into the step-by-step process of creating a parrot treat pouch:
Step 1: Gather the Materials
To create your parrot treat pouch, you will need the following materials:
– Fabric of your choice (preferably durable and washable)
– Sewing machine or needle and thread
– Scissors
– Velcro or buttons for closures
– Optional: Pockets or compartments for storing additional training tools
Step 2: Design and Measurements
Decide on the size and design of your treat pouch based on your preferences and the size of treats you typically use. Ensure the pouch is large enough to hold an adequate amount of treats without being cumbersome.
Measure and cut two equal-sized fabric pieces for the front and back of the pouch. Consider adding extra fabric for pockets or compartments if desired.
Step 3: Sewing
Place the two fabric pieces together, with the right sides facing each other. Sew around the edges, leaving a small opening for turning the pouch inside out.
Trim any excess fabric and turn the pouch inside out through the opening. Use a pen or similar object to push the corners out for a neat finish.
Step 4: Closure
Decide on the type of closure you prefer for your treat pouch. You can sew Velcro strips or attach buttons to ensure the pouch remains securely closed during training sessions.
Step 5: Optional Additions
If you wish to add pockets or compartments to your treat pouch, sew them onto the front or back fabric pieces before sewing the pouch together. These additional storage spaces can hold clickers, whistles, or any other training tools you use.
Frequently Asked Questions about Parrot Treat Pouches
Q1: Can I use a pre-made pouch instead of creating one?
Absolutely! Ready-made treat pouches are available in pet stores and online. However, creating your own can be a fun and personalized project.
Q2: How often should I clean the treat pouch?
It is essential to keep your treat pouch clean to maintain hygiene. Clean it regularly, especially if it becomes soiled with treats or droppings. Use mild soap and water, or follow the manufacturer’s instructions if the pouch is machine washable.
Q3: Can I use the treat pouch for other pets besides parrots?
Certainly! Treat pouches are versatile and can be used for training other pets like dogs, cats, or small mammals. Simply adjust the pouch size and design to suit your specific needs.
With your newly created parrot treat pouch, you are now ready to embark on successful training sessions with your feathered companion. Enjoy the bonding experience and the progress you’ll make together!