As an expert dog trainer, I understand the importance of teaching your furry friend essential commands for their safety and your peace of mind. One crucial cue that every dog owner should focus on is the “wait” cue. This command comes in handy when you want your dog to pause and hold their position, especially at doors and crossings, preventing them from rushing out or bolting into traffic. In this article, I will guide you through the process of building a strong “wait” cue, ensuring your dog’s safety and obedience. Additionally, I will answer some frequently asked questions about this training technique.
Why is the “Wait” Cue Important?
Before delving into the training process, let’s understand why teaching your dog the “wait” cue is crucial. This command serves as a safety net, preventing your dog from dashing out of doors or running across busy streets without permission. By mastering this cue, your dog will learn impulse control, patience, and the importance of waiting for your signal. Moreover, it helps build a strong foundation for other commands and reinforces your position as the pack leader.
Training Steps for the “Wait” Cue
Follow these step-by-step instructions to successfully train your dog to wait patiently at doors and crossings:
1. Start Indoors: Begin the training process in a calm and controlled environment, such as your living room. Make sure you have some tasty treats on hand.
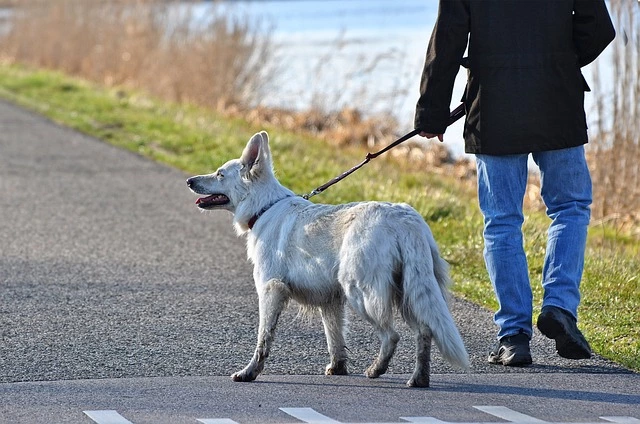
2. leash Your Dog: Attach a leash to your dog’s collar and hold it firmly but gently. This allows you to have control and guide your dog’s movements during training.
3. Approach the Doorway: Walk toward the door with your dog beside you. Maintain a loose leash and use a calm and assertive voice.
4. Apply the “Wait” Cue: As you reach the doorway, say “wait” in a clear and firm tone. Simultaneously, hold your hand up as a visual signal for your dog to stop.
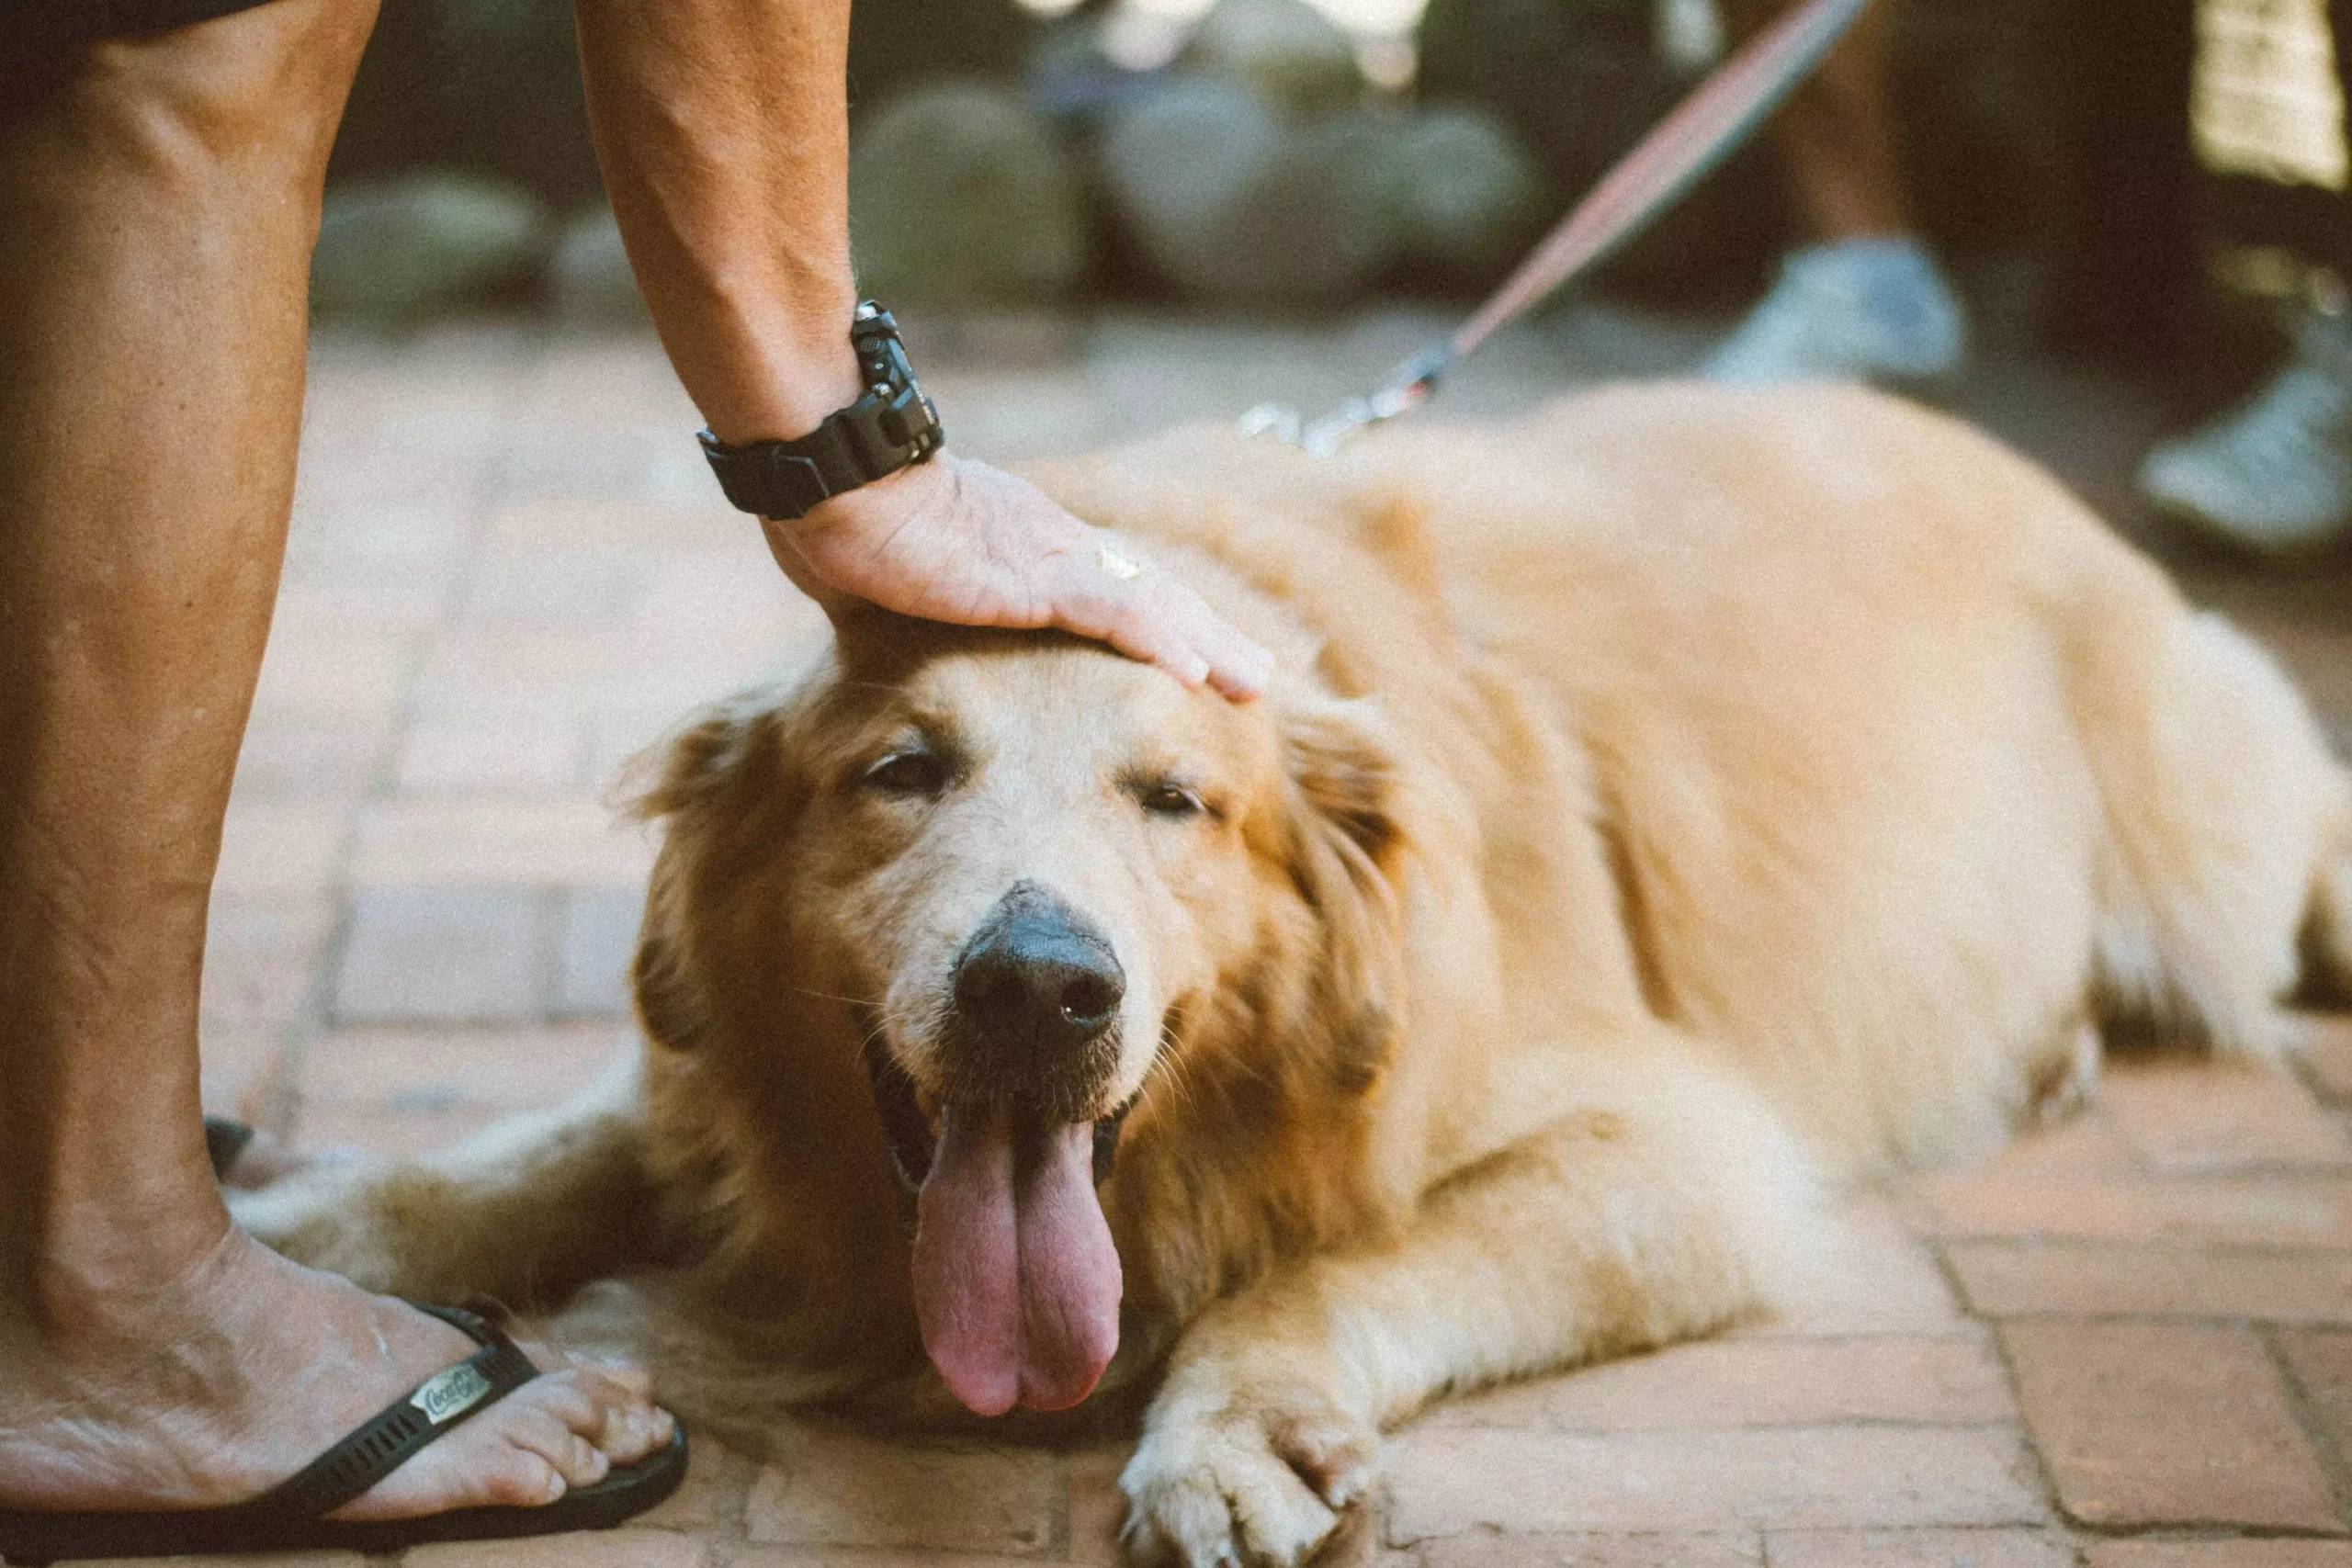
5. Reward Compliance: If your dog stops and waits, offer verbal praise and a treat. Reinforce this behavior consistently to help them understand the desired response.
6. Practice and Gradually Increase Difficulty: Repeat this exercise multiple times, gradually increasing distractions and difficulty levels. For example, introduce mild distractions like a doorbell sound or another person walking by, and reinforce the “wait” cue until your dog masters it.
7. Transition to Outdoor Practice: Once your dog becomes proficient indoors, continue practicing the “wait” cue at various outdoor locations, such as park entrances, crosswalks, or busy streets. Remember to keep your dog on a leash for safety.
8. Consistency is Key: Consistency is crucial when training your dog. Always reinforce the “wait” cue in different scenarios to ensure your dog’s obedience regardless of the surroundings.
FAQs about Building the “Wait” Cue
Q: How long does it take to train a dog to wait at doors and crossings?
A: The training duration varies based on the dog’s temperament, age, and previous training experience. Some dogs may learn it quickly within a few weeks, while others might take longer. Patience and consistency are key.
Q: Can I use a different cue word instead of “wait”?
A: Yes, you can use any word or phrase that is clear and easy for your dog to understand. However, make sure to be consistent with your chosen cue throughout the training process.
Q: Should I use treats every time my dog waits?
A: Initially, treats are essential to reinforce the desired behavior. However, as your dog becomes more proficient, you can gradually fade out the treats and rely more on verbal praise and physical affection.
Q: What if my dog doesn’t respond to the “wait” cue?
A: If your dog doesn’t respond initially, go back to simpler steps and reinforce the basic training indoors. Be patient and consistent, gradually increasing the difficulty level until your dog understands the command.
Remember, building a strong “wait” cue takes time, patience, and consistency. By investing effort into this training, you are not only ensuring your dog’s safety but also strengthening your bond and communication. Happy training!


